
If you’ve ever wondered how to craft your own SVG files for cutting machines using Inkscape, you’re in the right place! SVG (Scalable Vector Graphics) files offer the advantage of scalability without losing image quality, making them perfect for cutting machines like Cricut. In this tutorial, I’ll guide you through the process, providing a quick overview of the powerful capabilities of Inkscape..
Why SVG Files?
SVG stands for “scalable vector graphics,” and it’s the go-to format for creating custom designs for cutting machines. Unlike raster images (e.g., PNG or JPG), SVG files maintain their crispness and clean lines, making them ideal for precision cutting. Even if you don’t consider yourself an artist, Inkscape empowers you to create intricate designs easily.
Contents
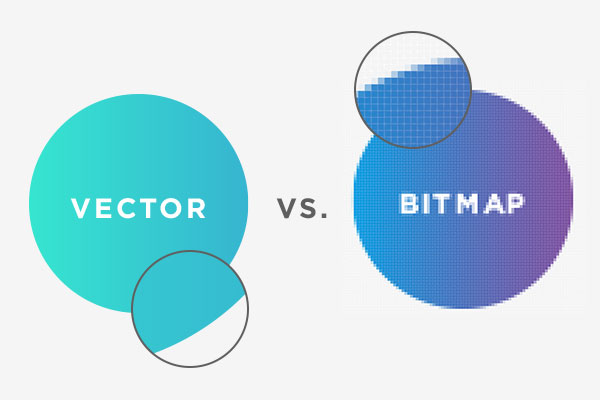
Vector vs. Bitmap Images
Inkscape SVGs, being vector-based, offer control over designs, allowing adjustments until you’re satisfied. This is a significant advantage over pixel-based bitmap images like PNGs and JPEGs, which may result in jagged cuts when resized for cutting machines.
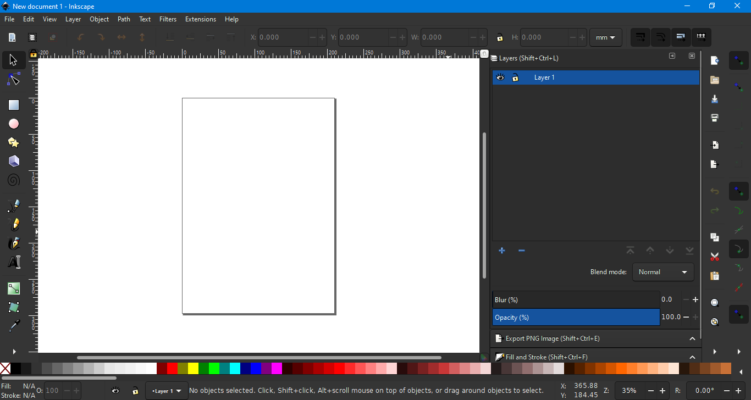
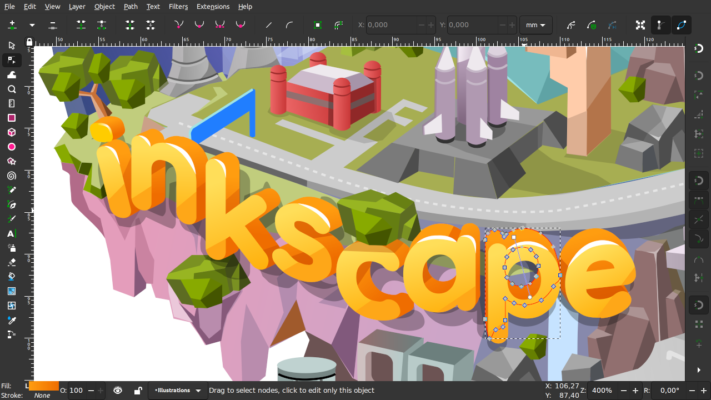
Getting Started with Inkscape
Before diving into the tutorial, ensure you have Inkscape installed on your computer. It’s a free, open-source software available for both Windows and Mac. Once installed, follow these steps to create your SVG file:

Step 1: Open Your Image File
- Launch Inkscape and navigate to “File” > “Open.”
- Select a PNG, JPG, or BMP image file that you want to convert into an SVG file.
Step 2: Trace Your Raster Image
- After opening your image, go to “Edit” > “Select All” to choose the entire image.
- Navigate to “Path” > “Trace Bitmap.”
- Update the settings in the Trace Bitmap panel as needed and click “Apply.”
Step 3: Edit Your Vector Image
- Open the “Objects” panel (go to “Objects” > “Objects”).
- Delete the original raster image layer by selecting and deleting it.
Your raster image is now converted into a vector image!
Step 4: Further Editing (Optional)
- Use the “Edit Paths (Direct Selection)” tool to adjust lines or nodes as needed.
- Make any necessary edits to enhance or customize your design.
Step 5: Save Your Vector File
- Save your file by selecting “File” > “Save As.”
- Choose “Inkscape SVG” or “Plain SVG” as the file format.
- Save your image in SVG format.
Uploading to Cutting Software
With your SVG file ready, you can now upload it to your preferred cutting software, such as Cricut Design Space. Follow the software’s instructions for uploading SVG files, and you’re ready to cut your design on your Cricut machine.
This tutorial covers the basics, but keep in mind that Inkscape offers advanced features for those looking to delve deeper into SVG design. If you’re interested in exploring more complex shapes and techniques, consider enrolling in a comprehensive course like the CUT ABOVE SVG Design Course, where you can unlock the full potential of Inkscape for SVG creation.
Creating your own SVG files with Inkscape is both fun and rewarding, opening up a world of possibilities for personalized designs on your cutting machine. Start experimenting and enjoy the creative process!