
Integrating SVG files into 3D printing offers endless creative possibilities for crafting unique and personalized items. By leveraging the versatility of SVG files and the precision of 3D printing technology, enthusiasts can bring their digital designs to life in tangible forms. In this guide, we’ll explore the process of transforming SVG files into 3D printed creations, unlocking a realm of innovation and artistic expression.
Contents
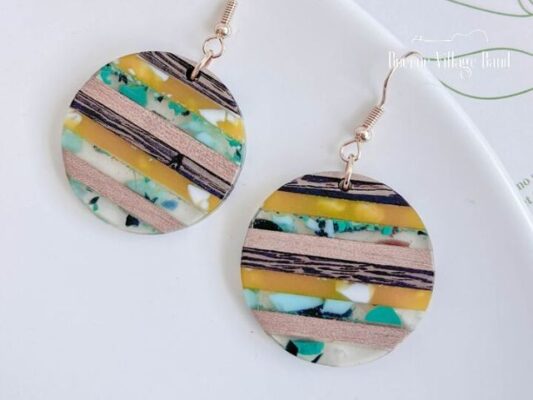
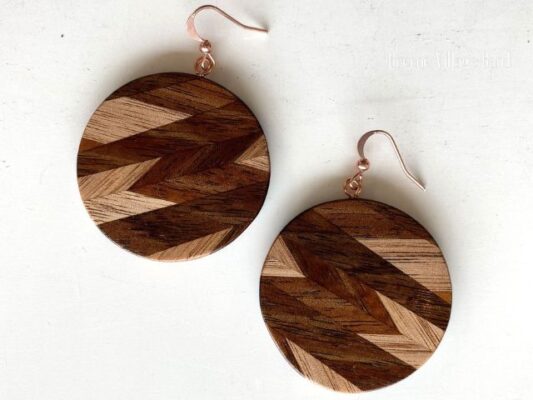
3D Printed with SVG File Conversions
Design Your Earrings
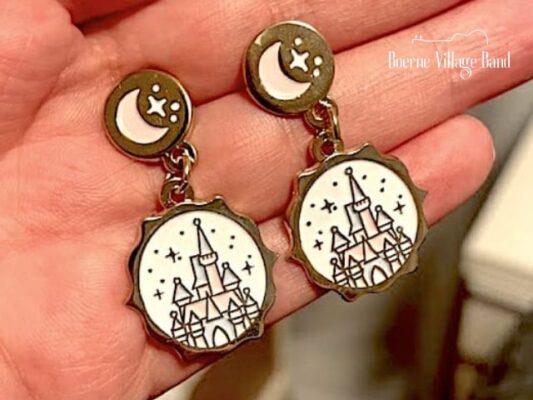
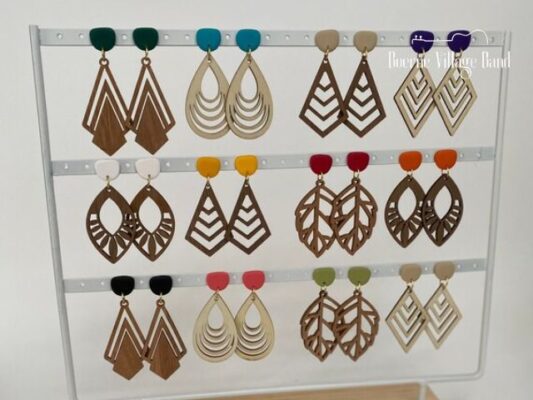
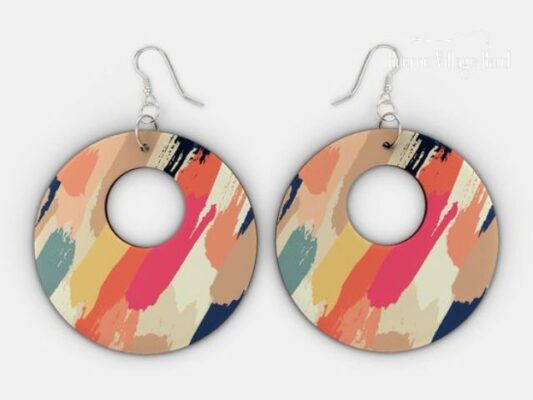
- Choose your desired SVG file, such as Mandala earrings, ensuring you have a JPEG or PNG version of the design.
- Import the SVG file into Windows 3D Builder and convert it into a 3D model.
Prepare the Design
- Adjust the model’s detail and smoothness, and invert it if necessary.
- Utilize the slice tool to remove any unwanted parts, like excess shapes behind the earring design.
Export the Model
- Save the model as an STL file, compatible with your 3D printer software.
Set Up for Printing
- Import the STL file into your 3D printer software, like CHITUBOX, and arrange the earrings on the print surface.
- Optimize the size and layout of the earrings for efficient printing.
Generate the Print File
- Slice the model into horizontal layers using the slicing function in your 3D printer software.
- Save the sliced model to a USB drive for processing on your printer.
Print the Earrings
- Load the file onto your 3D printer and initiate the printing process.
- Adhere to safety guidelines and handle uncured resin with care.
- After printing, clean the earrings with a suitable solution to remove excess resin.
Cure the Resin
- Harden the resin using UV light, either with a UV lamp or exposure to sunlight.
Finish the Earrings
- Use a Dremel tool to clean any resin-filled holes.
- Apply spray paint or other finishes as desired, and attach findings to complete the earrings.
Conclusion
In conclusion, transforming SVG files into 3D printed items opens up a world of creative possibilities for crafting enthusiasts. By following the step-by-step guide outlined above, you can seamlessly integrate digital designs into tangible objects, such as stunning earrings. Whether you’re a seasoned crafter or new to 3D printing, this process offers an accessible and rewarding way to express your creativity. With Design Bundles’ vast array of resources and the precision of 3D printing technology, the only limit is your imagination. So dive in, experiment with different designs, and enjoy the journey of bringing your ideas to life in three dimensions. Happy crafting!
Related Post
DIY Anime Decor: 10 Anime Room Decor Ideas
Perfect 15+ Creative Photoshop Portraits Actions