
Welcome to the realm of design with 3D Printed Embossing Plates. In today’s era of technological advancement, the fusion of 3D printing with traditional embossing processes has opened up exciting avenues for creative exploration. 3D Printed Embossing Plates represent a revolutionary approach to design, offering unmatched precision and customization capabilities. In this guide, we will delve into the intricacies of creating stunning embossing plates using cutting-edge 3D printing technology. Join us as we unlock the potential of 3D Printed Embossing Plates and embark on a journey of artistic innovation.
Design 3D Printed Embossing Plates
Step 1: Creating a Line Drawing
To begin, generate a line drawing and save it as a .jpg file.
Step 2: Generating the 3D Model
- You can use an online website to simplify the process of creating the 3D model from the drawing. Joining the website is a straightforward process, requiring only your name and email, and it’s free to use.
- Import your drawing into the workspace and adjust the settings on the left side of the site. Change the size to 5 inches, switch the units from MM to Inches, set the Blade thickness to at least 1mm, enable Imprint Stamp, and set Depth to 0. Then, download the STL file.
Step 3: Preparing the Model in TinkerCAD
Import the STL file into TinkerCAD. Reverse the cookie cutter so that the handle is on top, and add a hole box to cover the cookie cutter, lifting it to include only the wide handle. Combine these two elements to obtain the original line drawing. Adjust the size of the object as needed.
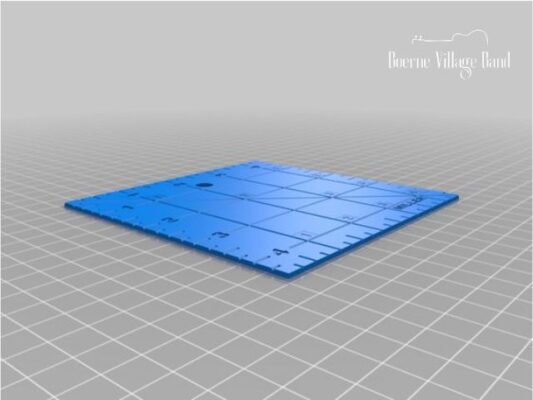
Step 4: Creating the Embossing Plates
- In TinkerCAD, create two plates: a positive plate with bumps for embossing and a negative plate with depressions for the embossing to be pushed into. Ensure that the height of the bumps and depth of the depressions do not exceed 0.6mm to prevent punching instead of embossing.
- Adjust a box’s height to 0.6mm to cover the lines, and increase its size by about 10mm. Change the lines’ height to 1.2mm and align them. Duplicate these two pieces and combine them to create the positive plate. Flip the duplicated pieces, convert the lines into a hole, lift them by 0.6mm, and adjust the plate’s thickness to 1.2mm to create the negative plate. Save these as individual STL files.
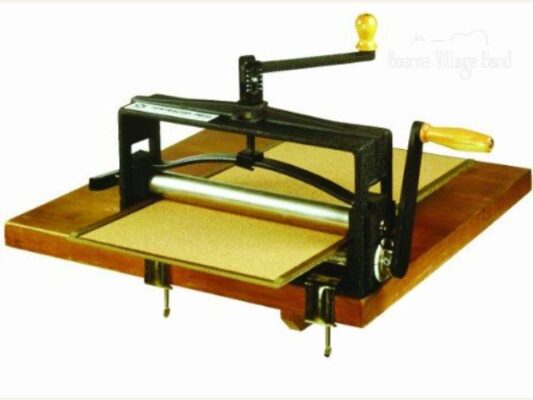
Step 5: 3D Printing the Plates
Print the positive and negative plates using a 0.2mm printing layer thickness and PETG filament. Ensure the first layer’s thickness matches the printing layer thickness.
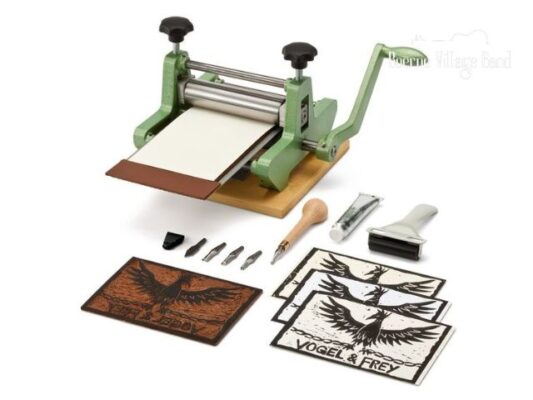
Step 6: Constructing the Folder
Cut two strips of heavy craft cardstock slightly wider than the plates. Use wide tape to join the strips together, then add double-sided tape to the back of the negative plate. Center the negative plate on one strip and repeat the process with the positive plate. Close the folder carefully to align the plates, securing them in place with double-sided tape.
Step 7: Files for the Robot
If desired, utilize the provided STL files to print plates for the robot. Adjust the size by resizing the X and Y dimensions while ensuring consistency between both plates.
Conclusion
In summary, the advent of 3D Printed Embossing Plates has revolutionized the realm of design and craftsmanship. These plates offer unparalleled precision and customization, seamlessly blending traditional embossing techniques with modern technology. As creators explore the possibilities of 3D printing, the future of embossing holds tremendous potential for personalized and innovative designs. With 3D Printed Embossing Plates, the art of embossing has entered a new era of creativity and versatility. Besides, you can refer to 3D Printed with SVG File Conversions.
Related Post
3D Printed with SVG File Conversions
DIY Anime Decor: 10 Anime Room Decor Ideas
Perfect 15+ Creative Photoshop Portraits Actions