
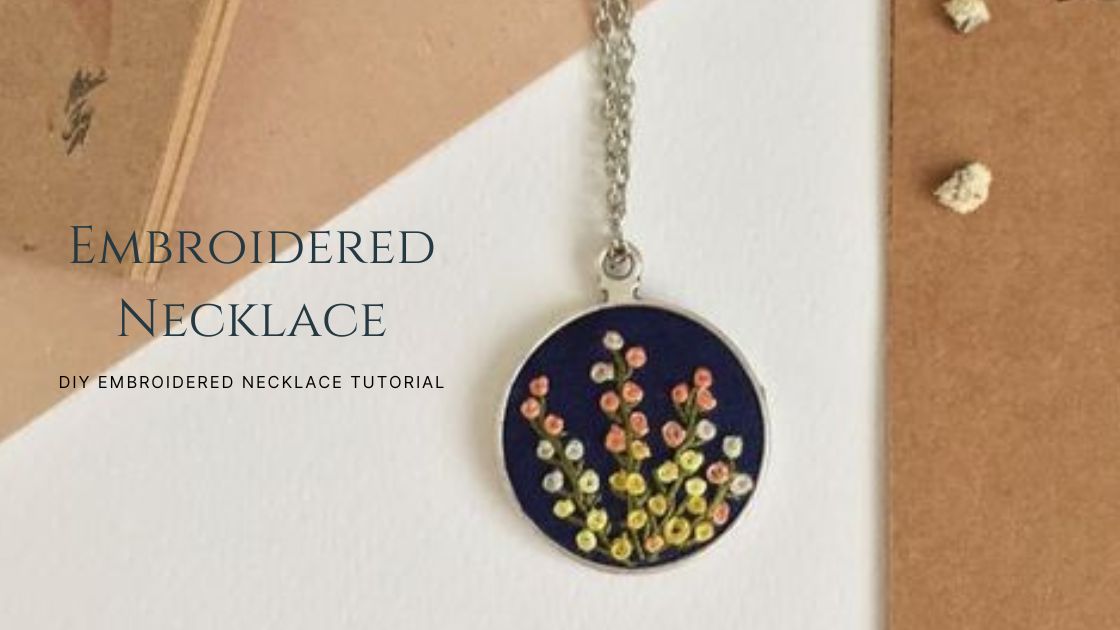
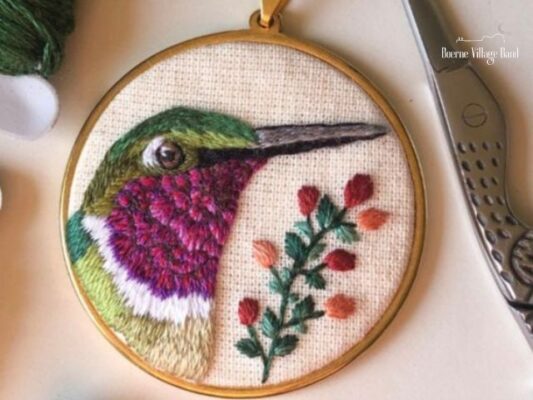
Embark on a journey of creativity and craftsmanship with our DIY Embroidered Necklace Tutorial! Expressive, unique, and entirely your own, embroidered necklaces are more than just accessories – they’re statements of individuality and style. In this tutorial, we invite you to delve into the world of embroidery and jewelry-making as we guide you through the intricate process of crafting your personalized necklace. Whether you’re a seasoned artisan seeking new inspiration or a curious beginner eager to explore your creative potential, this tutorial promises an enriching and fulfilling experience. So, gather your supplies, ignite your imagination, and let’s weave threads of artistry into wearable masterpieces together!
Contents
Materials Needed
For the Pendant
- Base fabric (e.g., felt)
- Iron-on interfacing
- Embroidery thread in assorted colors
- Bezel pendant setting
- Embroidery hoop
- Embroidery needles
- Scissors
- PVA glue
For the Necklace
- Chain or cord
- Jump rings
- Clasp
DIY Embroidered Necklace Tutorial
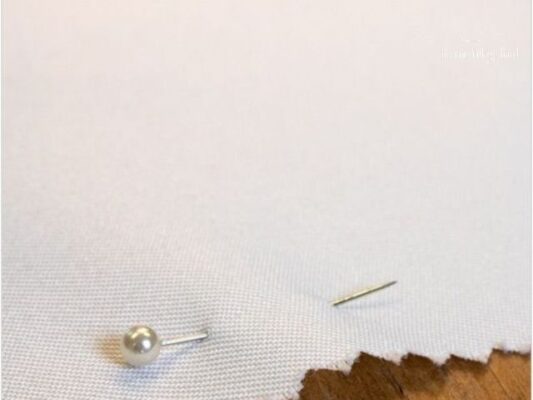
Step 1: Preparing Your Fabric
To ensure a sturdy base for your embroidery, start by ironing a piece of interfacing onto your chosen fabric, such as felt. This will provide stability and prevent the fabric from puckering during stitching. Once the interfacing is applied, place the fabric into your embroidery hoop with the felt side facing up. Use your fingers to adjust the fabric so it’s taut within the hoop. Next, mark out the shape of the bezel setting on the fabric using a pencil or fabric marker. For example, if your pendant setting is a 2cmx2cm square, outline this shape on the fabric.
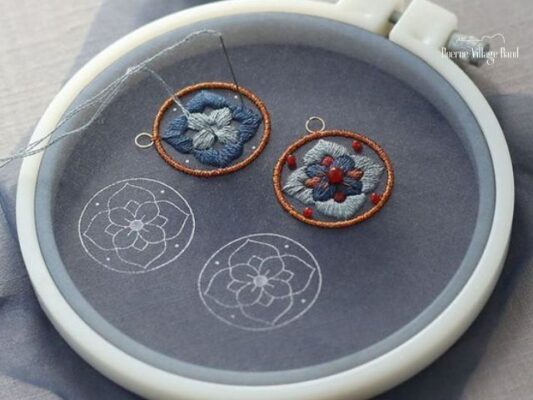
Step 2: Plan Your Design
Before diving into the embroidery, take some time to plan out your design. If you desire a thin black border around the edge of your finished piece, use plain thread to create a tacking stitch around the perimeter of your work area. For instance, if your desired work area is 17mmx17mm, carefully stitch along the edges to create the border. With the border in place, use a gel pen or fabric marker to sketch out the various elements of your design. For inspiration, consider iconic artworks like Van Gogh’s “Starry Night”. Mark out the position of elements such as the moon and swirling sky to guide your stitching.
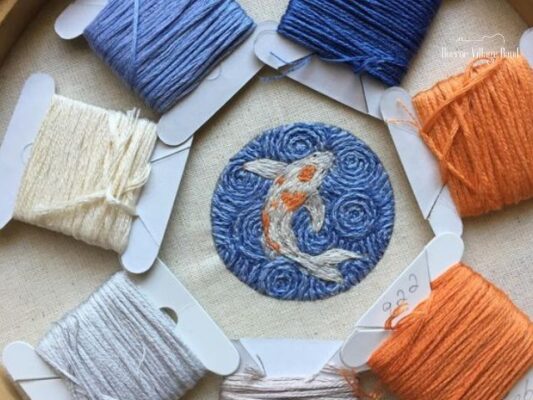
Step 3: Start Embroidering
Once your design is planned, it’s time to start stitching! Begin with the main elements of your design, such as the moon in a “Starry Night” inspired piece. Using basic embroidery stitches like the backstitch, work methodically to fill in each element of your design. Embroidery can be repetitive but also relaxing, making it the perfect activity to enjoy while watching your favorite series or listening to music. As you stitch, don’t hesitate to change thread colors to add dimension and visual interest to your embroidery. Fill in any gaps between main elements to complete your design.
Step 4: Finishing the Embroidery
Once all elements of your design are embroidered, it’s time to finish the piece. Knot and trim all thread ends, ensuring a neat appearance. Carefully remove the tacking stitches that marked the border of your work area. To ensure your embroidery lies flat, iron the back of the fabric, being mindful of the stitches. With the back facing up, mark the shape and size of the bezel pendant setting on the fabric, centering the embroidered area within it. Carefully cut out the embroidered area, ensuring the border is even on all sides. Check that the cut piece fits into the pendant setting.
Step 5: Adding the Chain
To complete your necklace, add the chain. Determine the desired length by holding it around your neck, then cut it accordingly. Thread the chain through the hole at the top of your pendant. Use jump rings to attach the clasp to each end of the chain. When opening the jump rings, use two pairs of pliers to avoid distortion and damage. Once the clasp is securely attached, your necklace is complete and ready to wear!
Tips: In addition to regular motifs, you can embroider stylized lettering on it to create your own mark.
Conclusion
Congratulations on completing your DIY Embroidered Pendant Necklace! Through careful preparation, meticulous stitching, and attention to detail, you’ve transformed simple materials into a stunning piece of wearable art. Your pendant necklace not only showcases your creativity but also reflects your personal style and inspiration.
As you wear your handmade necklace, take pride in the craftsmanship and dedication that went into its creation. Each stitch tells a story, and your necklace is a beautiful expression of your artistic vision.
We hope this tutorial has inspired you to explore the world of embroidery further and experiment with creating your own unique jewelry pieces. Remember, the possibilities are endless, so don’t hesitate to let your imagination run wild in your future projects.
Thank you for joining us on this creative journey. May your embroidered pendant necklace bring joy and admiration wherever you go. Happy crafting!
Related Post
Best 22+ Free Fonts For Commercial Use: Boost Your Brand
Best 12+ Outdoor Fonts Bring Nature’s Beauty to Typograph
Honoring a Nation of Diverse Readers