

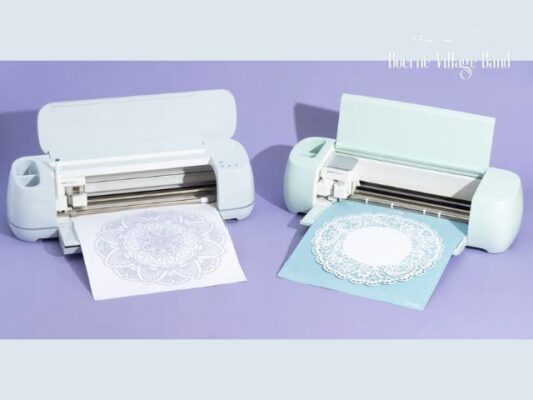
Embark on a journey to explore the fusion of two crafting powerhouses as we delve into the art of cutting Cricut images with your Silhouette machine. While traditionally renowned for its proprietary designs, the Silhouette offers a versatile platform that extends beyond its limitations, allowing crafters to push the boundaries of creativity. In this comprehensive guide, we’ll navigate the intricacies of leveraging your Silhouette to achieve precise cuts on Cricut images, unlocking a world of innovative possibilities. Whether you’re a seasoned crafting enthusiast seeking new challenges or a novice eager to explore your creative potential, mastering the technique of using your Silhouette for Cricut images opens doors to boundless creativity. Let’s embark on this creative journey together and harness the full potential of your Silhouette machine to elevate your crafting endeavors to new heights.
Contents
Purchasing and Downloading a Silhouette Cutting Cricut Images
If you’re looking to use a Silhouette Design Store file with your Cricut machine, follow these steps to purchase and download the file in SVG format:
Step 1: Purchase the SVG Version of the Shape
- Navigate to the Silhouette Design Store and find the desired file, ensuring it’s available in SVG format.
- Add the file to your cart and proceed to checkout.
- If you have credits in your Design Store account, opt for the Express checkout to add the SVG file directly to your library.
- Make sure to select the SVG format and Commercial Use license if applicable.
- Note the folder where you’ll save the downloaded file for easy access.
Step 2: Download the File to Your Hard Drive
- Upon completing the purchase, click on the option to download the file.
- Choose “Direct Download” to save the SVG file to your hard drive.
- Alternatively, you can set up automatic downloads for future purchases to streamline the process.
- Ensure you remember the designated download folder for convenient access later.
Using a Silhouette Cutting Cricut Images
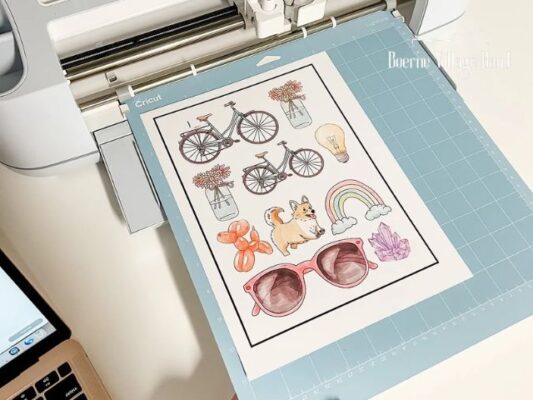
Once you’ve downloaded the SVG file, follow these steps to upload and utilize it in Cricut images:
Step 1: Upload the Image to Cricut Design Images
- Launch Cricut Design Space and select “Upload” from the menu.
- Locate the downloaded SVG file on your hard drive and upload it to Cricut Images
Step 2: Delete Any Unnecessary Elements and Resize the Image
- Review the uploaded image and delete any unnecessary elements that you don’t wish to include in your project.
- Resize the image as needed to fit your desired dimensions.
Step 3: Set the Linetype
Once you’re satisfied with the design, set the linetype to “Cut” to ensure your Cricut machine accurately cuts the SVG file.
Step 4: Send the Design to the Joy
- If you’re using a Cricut Joy, proceed to send the design to your machine for cutting.
- If using another Cricut model, follow the prompts to load the material and initiate the cutting process.
Conclusion
In the realm of crafting, the fusion of Cricut images with the cutting precision of your Silhouette machine opens up a world of creative exploration and boundless possibilities. Through the techniques outlined in this guide, you’ve learned how to seamlessly integrate Cricut designs into your Silhouette projects, transcending the boundaries of traditional crafting methods.
Happy crafting, and may your Silhouette adventures continue to inspire and delight!
Related Post
Design 3D Printed Embossing Plates
3D Printed with SVG File Conversions
DIY Anime Decor: 10 Anime Room Decor Ideas