

Contents
- 1 Why Should Remove the Background Using Adobe Illustrator?
- 2 How to Remove Background in Adobe Illustrator
- 3 Remove The Background In Illustrator Using Image Trace
- 4 Removing the Background in Illustrator Using the Pen Tool
- 5 Removing the Background in Illustrator Using Magic Wand
Why Should Remove the Background Using Adobe Illustrator?

-
Removing the background on Ai has many benefits, such as:
- It helps you focus on important parts of image, highlighting your messages and ideas
- Remove redundant, unnecessary or distracting details for viewers.
- Create uniformity and harmony between design elements, especially when you want to combine multiple images.
- Save file size and download time when exporting to different formats.
“While using Adobe Illustrator, you’ll probably want to be working with vectors. Vectorized images are drawn by computer math. They are sharper than regular images such as JPEGs and don’t get pixelated even when you zoom right in.”- Remove bg
How to Remove Background in Adobe Illustrator
-
Remove The Background In Illustrator Using Image Trace

Utilizing Image Trace provides a method to eliminate a white background from any image. Begin by creating a vector and subsequently removing the background. Here’s a step-by-step guide:
STEP 1: Upload an Image in Adobe Illustrator
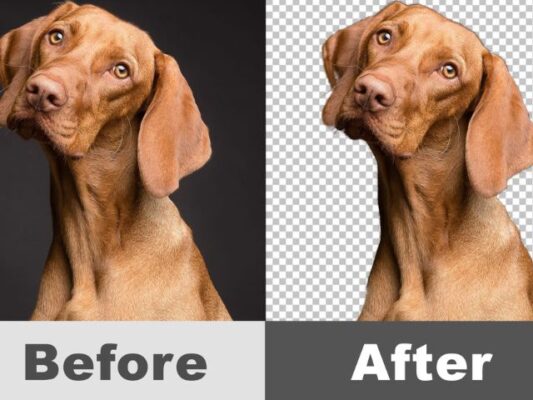
Launch Adobe Illustrator on your computer and import the image file by placing it in the workspace. To reveal the checkerboard background, go to View > Show Transparency Grid. The checkerboard signifies transparency in the image background.
STEP 2: Open Image Trace
Initiate Image Trace by clicking the Window tab and selecting Image Trace from the dropdown menu. Find the Selection tool in the toolbar (Black arrow), click on it, and then select your image.
STEP 3: Select High Fidelity Photo
In the Image Trace window, choose the High Fidelity Photo preset for optimized results or opt for any other preset that best suits your photo’s quality. Set the Mode to the Color preset.
STEP 4: Convert Your Image into a Vector
Next, convert your image into a vector by navigating to Object > Expand.
STEP 5: Remove the Background
Locate the Direct Selection tool in the toolbar (White arrow), click on it, and select the background elements and parts you wish to remove. Then, press Delete.
STEP 6: Export and Save Your File
Navigate to the Object tab and choose Expand to export your file as .EPS or PNG. Ensure the Background Transparent box is checked before exporting. Open the File menu and click Save As to save your newly edited image.
This process enables you to seamlessly eliminate backgrounds from images in Adobe Illustrator, providing a versatile solution for various design needs.
-
Removing the Background in Illustrator Using the Pen Tool

Adobe Illustrator provides a versatile method for eliminating undesired backgrounds through the use of the Pen Tool and a clipping mask to conceal or hide the background. Follow these steps to achieve this:
STEP 1: Select the Image
Open Adobe Illustrator and import the image into the workspace. Choose the Pen Tool from the toolbar to make your background selection.
STEP 2: Open the Pen Tool
After opening your image in Adobe Illustrator, zoom in using the zoom tool from the toolbar or by pressing Z. Open the Pen Tool and select your stroke color. Click on “No Fill” and proceed to create anchor dots around the image area by clicking.
These dots establish an image outline that you can manipulate. Once you’ve outlined the image background, close the shape by clicking on the first anchor point.
STEP 3: Make a Clipping Mask
Hold down the Shift key and select both your outline and the entire image by clicking on them. Right-click on your selection and go to Make Clipping Mask. This action will eliminate the background from your image.
STEP 4: Make Additional Adjustments
Further edit your image using the Pen Tool or Direct Selection to add more anchor dots if needed.
STEP 5: View Your Changes
Check the transparency of your edited image by clicking View > Show Transparency Grid. This allows you to visualize the checkerboard background. If you are satisfied with the result, proceed to the next step.
STEP 6: Export and Save Your File
Ensure the Background Transparent box is checked and go to Object > Expand. Export your image file as .EPS or PNG, then click File > Save As to save your edited image.
This method provides a flexible approach to background removal in Adobe Illustrator, giving you precise control over the selection process and allowing for additional adjustments as needed.
-
Removing the Background in Illustrator Using Magic Wand
Utilizing the Magic Wand tool is a swift and uncomplicated approach for background removal in Illustrator. With its adaptable settings and options for refining selections, you can achieve meticulous choices that elevate the quality of your designs.
STEP 1: Selecting The Magic Wand Tool and Adjusting Its Settings
- In Adobe Illustrator, locate the Magic Wand tool within the toolbar on the left side of the screen.
- Click on the tool to activate it, then fine-tune its settings in the options bar at the top of the screen.
- Set the tolerance value to dictate the tool’s sensitivity to color variations. Higher tolerance broadens the selected color range, while lower tolerance increases selectivity.
STEP 2: Clicking On The Background To Create A Selection
- Position the Magic Wand tool over the background area slated for removal.
- Click on the background to generate a selection based on the tool’s configured tolerance settings.
- The Magic Wand tool will automatically choose contiguous areas with similar colors, considering the clicked point and tolerance level.
STEP 3: Refining The Selection and Removing The Background
- After forming the initial selection, refine it as necessary to ensure accuracy.
- Use the Shift key to add to the selection or the Alt/Option key to subtract from it. Click and drag over additional areas to expand or contract the selection according to your requirements.
- To smooth jagged edges or transitions, access the “Smooth” option in the options bar and adjust the slider.
- Once the selection accurately encompasses the background, press the “Delete” key to eliminate it, resulting in a transparent background.

This method with the Magic Wand tool not only simplifies the background removal process but also provides flexibility and precision in refining selections for a polished final design
Related posts